DocNote x Axenita: set up the connection and send reports to the patient file (video)
Configure the Axenita web portal and FHIR API client, open DocNote from the patient file, generate a report and send it back into Axenita. Video in French.
 Dr. Alice Gilson·Doctor & Managing Director 3 min read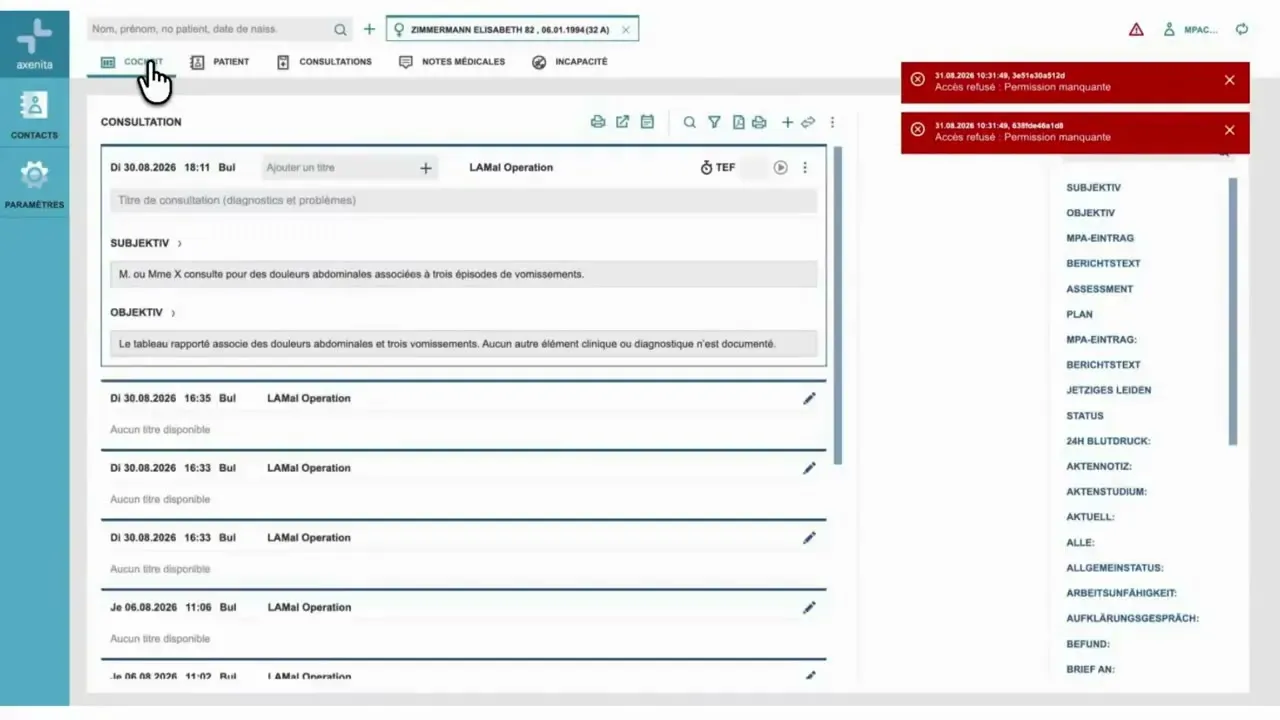
DocNote can now be used directly from the Axenita electronic patient record. You open DocNote from the patient file, generate your report, and send it straight back into Axenita, with no copy-paste and no change to your routine. This video (in French) covers the one-time configuration and then the daily workflow. Both are written out below, including the exact values to enter.
Part 1: one-time configuration in Axenita
Add the DocNote web portal
Sign in to Axenita, go to Settings, then Database. At the bottom of the page you will find the Web portal section. Add a new portal, name it DocNote, and enter the following URL. No username is required.
https://docnote.care/app/record?patientId={patientId}&patientIdSystem={patientIdOid}&firstName={patientFirstname}&lastName={patientLastname}&sex={patientGender}&birthday={patientBirthdate|dd.MM.yyyy}&language={patientCorrespondenceLanguage}Save the portal. The placeholders in braces are filled in by Axenita at launch, which is how DocNote knows which patient it was opened for.
Create the FHIR API client
Go to the FHIR-API section and add a new client, again named DocNote so the connection is easy to identify. Axenita generates an external client ID and a client secret. Copy both and send them to the DocNote team by email: we use them to finalize the connection between your Axenita environment and your DocNote account.
Grant the permissions
Select the DocNote client you just created, then add these three permissions one after the other:
system/Composition.csystem/Encounter.csystem/Patient.c
Make sure the DocNote client is selected before adding them, so they are attributed to the right client. If anything is unclear, both the Axenita and DocNote teams are available to help with the setup.
Part 2: daily use
Once the connection has been activated and confirmed by the DocNote team, go back to the patient file and work as usual.
- Open DocNote from Axenita. Click “External call”, the icon to the right of the printer, and select DocNote. The app opens automatically. On first use, check in DocNote’s settings that the Axenita connection shows as active.
- Record or dictate and generate your report exactly as you normally do in DocNote.
- Send it to the patient file. Click the share option and choose “Send to patient file”. Because DocNote was opened from the patient’s file in Axenita, the patient is identified automatically. Confirm and the report is sent.
- Integrate it in Axenita. Close DocNote, return to the patient file and click the double-arrow icon. The content transmitted from DocNote appears there. Select the corresponding consultation, click “Add” and validate.
The report is now part of the patient file. It remains fully editable in Axenita until you validate it definitively.
Why we built it this way
The Axenita integration relies on the FHIR standard, which means the report is transmitted as a structured document rather than pasted text, and the patient identity travels with it. For the doctor, the visible result is simpler: one click to open DocNote, one click to send, and nothing to retype.
Related articles
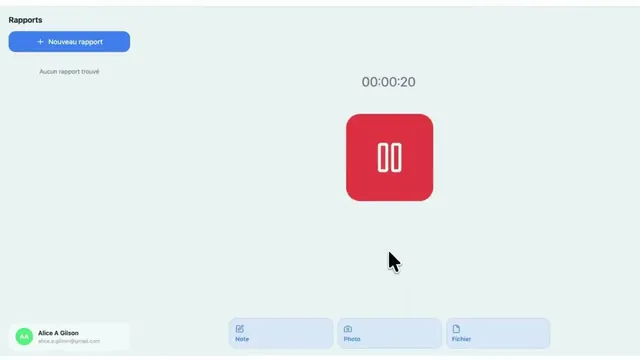
DocNote x Sokle: send your report straight into the patient file (video)
Connect DocNote to the Sokle EHR, send a generated report to the right patient, and find it in the consultation without copy-paste. Video in French with English subtitles.
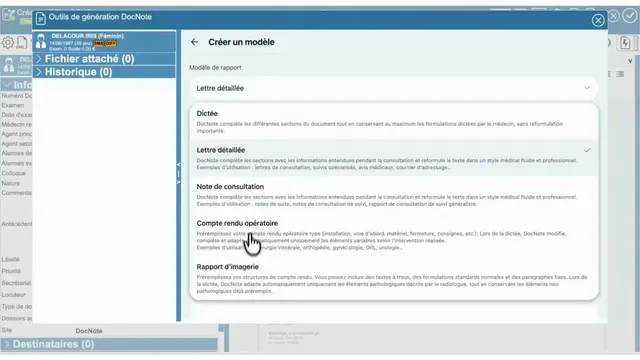
Using DocNote from EDL Xplore for radiology reports (video)
Open DocNote from the EDL Xplore RIS, dictate only what differs from your normal template, and get the full structured radiology report back in EDL. Video in French.
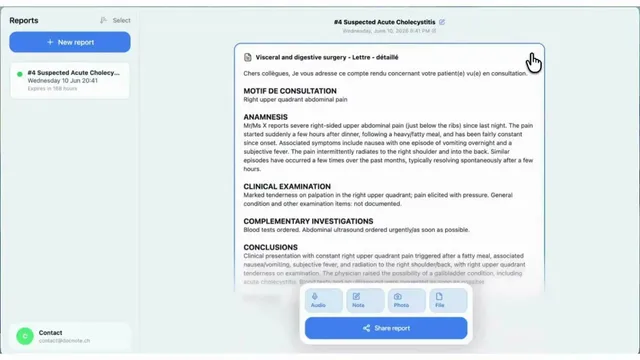
DocNote tutorial (English): record, add context, generate, share
The English walkthrough of DocNote: choose a report type or plain dictation, record the consultation, attach context and documents, generate the report and export it.