DocNote tutorial (English): record, add context, generate, share
The English walkthrough of DocNote: choose a report type or plain dictation, record the consultation, attach context and documents, generate the report and export it.
 Dr. Alice Gilson·Doctor & Managing Director 3 min read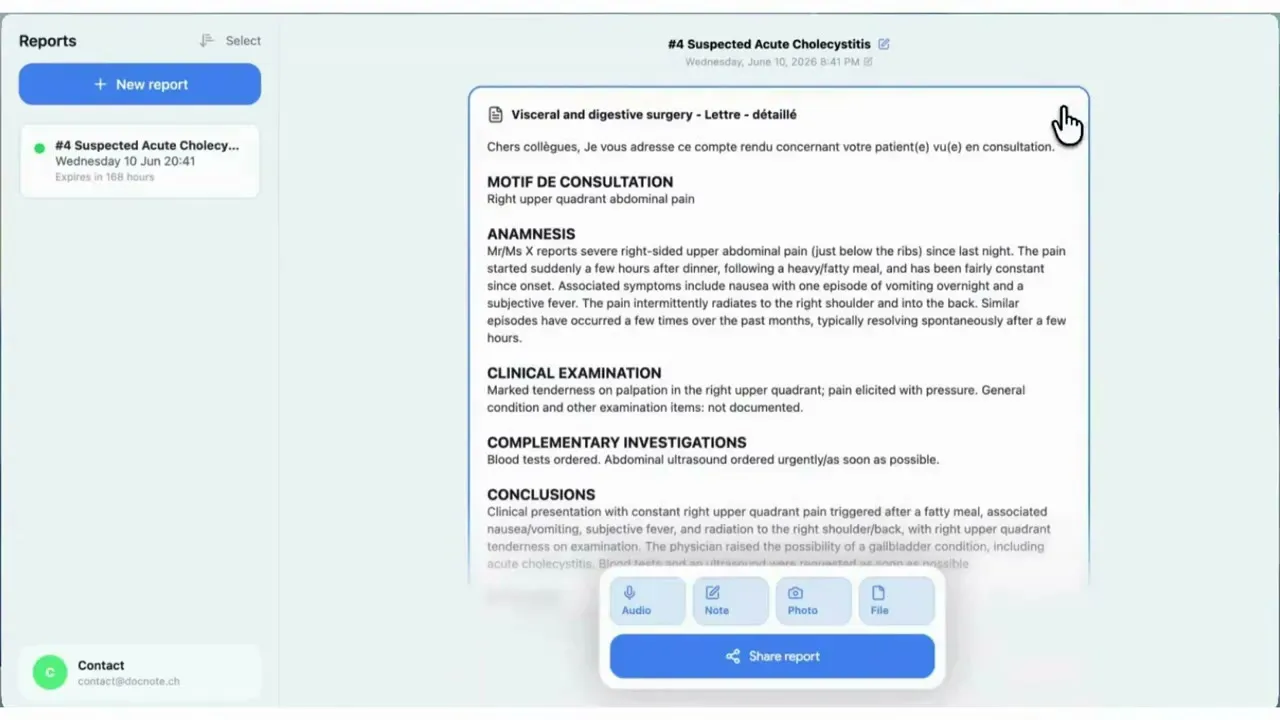
This is the English version of the DocNote tutorial. It covers the full spectrum of what the app does, both for hospital work and for outpatient consultations, in a little over two minutes. Here is the same content in writing, step by step.
Start a consultation
From the home screen you create a new consultation. A dropdown menu lets you pick the type of report according to your specialty. You can also select a simple dictation mode. In that mode there is no need to dictate punctuation: you speak, and DocNote takes care of the formatting.
What you can record
DocNote is not limited to the doctor-patient conversation. You can record:
- the consultation itself, with the patient in the room,
- your own dictation after the visit,
- other clinical discussions, such as conversations with colleagues or handovers from paramedics.
The AI extracts what is clinically relevant and structures it according to the template you chose.
Add context, photos and documents
Below the recorder you can add contextual notes or any other relevant information, for example the medical history copied from the patient’s file. You can add photos (a treatment list, for instance) and upload documents such as previous operative reports or the report from the last consultation. All of this feeds the generation, which makes the final report noticeably more accurate.
Generate, review, edit
Once everything is in, click “Generate report”. The document is structured and formatted automatically. It can be edited at any time with the edit button in the top right corner, so you can add, correct or complete any information before sharing it.
Four ways to get the report out
When the report is ready you can:
- Copy it and paste it directly into your patient record.
- Email it, for example to your secretary.
- Send it to the EHR directly when your practice software is connected to DocNote.
- Export it in Word format.
Consultations less than seven days old stay in the sidebar, so you can come back to a report you have not finished.
Settings and custom templates
In the settings you can add email addresses, add your signature, and change both the application language and the report language.
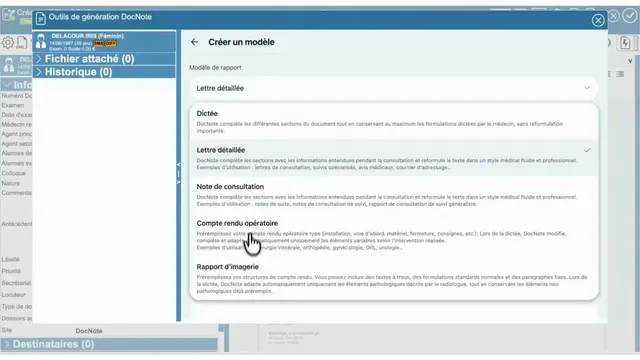
To go one step further, the templates tab lets you create your own custom templates. This is how you get reports that follow your habits, or even pre-filled operative reports where you only dictate what differs from the standard procedure. We have a dedicated tutorial on creating custom templates if you want to see that in detail.
Related articles
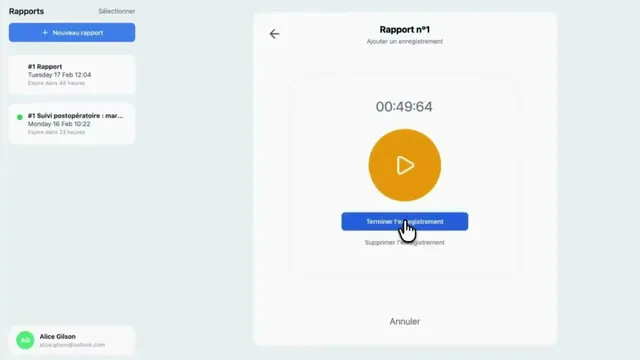
DocNote video tutorial: from recording to finished report in two minutes
A two-minute walkthrough of the DocNote app: create a consultation, record or dictate, add context, generate the report and share it. Video in French.
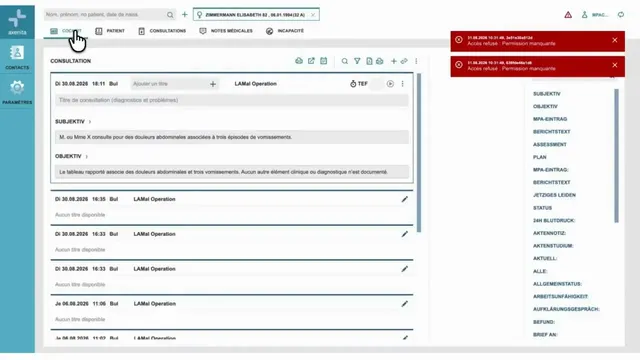
DocNote x Axenita: set up the connection and send reports to the patient file (video)
Configure the Axenita web portal and FHIR API client, open DocNote from the patient file, generate a report and send it back into Axenita. Video in French.
Using DocNote from EDL Xplore for radiology reports (video)
Open DocNote from the EDL Xplore RIS, dictate only what differs from your normal template, and get the full structured radiology report back in EDL. Video in French.