DocNote video tutorial: from recording to finished report in two minutes
A two-minute walkthrough of the DocNote app: create a consultation, record or dictate, add context, generate the report and share it. Video in French.
 Dr. Alice Gilson·Doctor & Managing Director 3 min read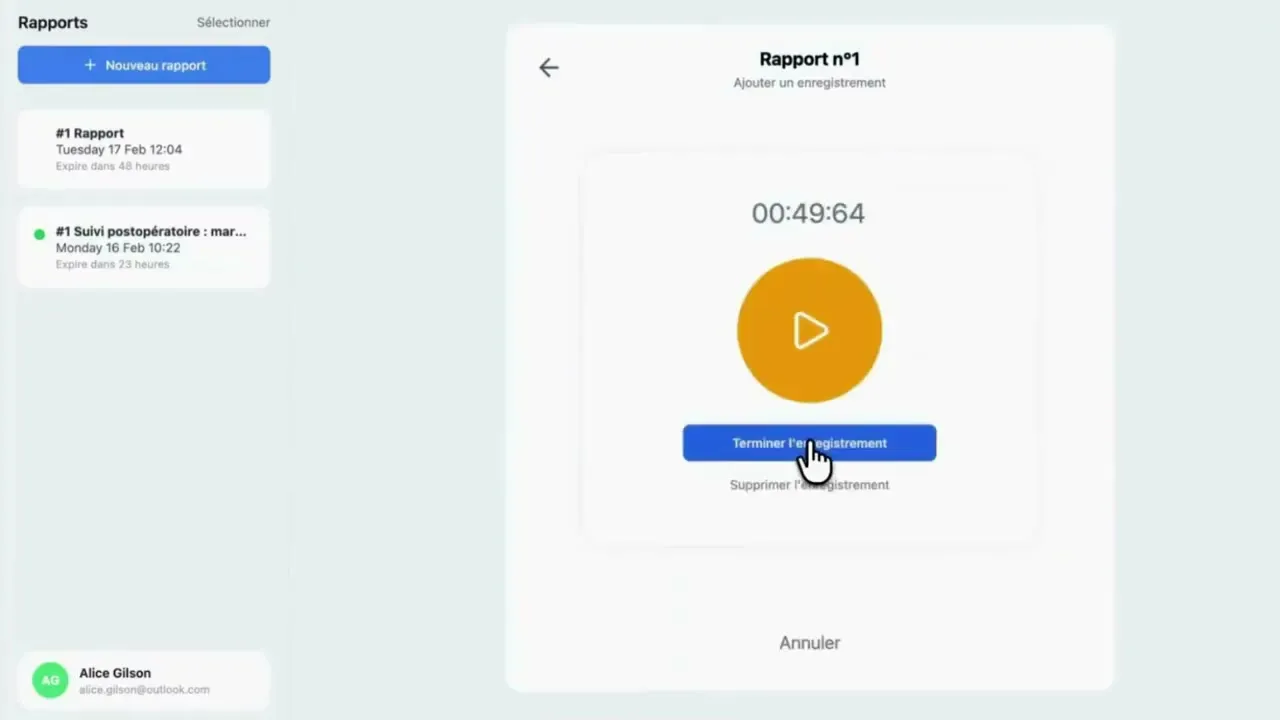
This short video (in French) is the fastest way to understand how DocNote works day to day. In about two minutes it walks through a complete consultation, from the first tap to a report ready to paste into the patient record. Below is a written version of what the video shows, so you can follow along or come back to a specific step.
Two ways to use DocNote, fully synchronized
DocNote exists as a mobile app (iOS and Android) and as a web app. Both are connected to the same account, so a consultation started on your phone can be finished on your computer without any friction. In practice, many doctors record on the phone during the consultation and review the generated report on the desktop afterwards.
Step 1: create a consultation and choose a report type
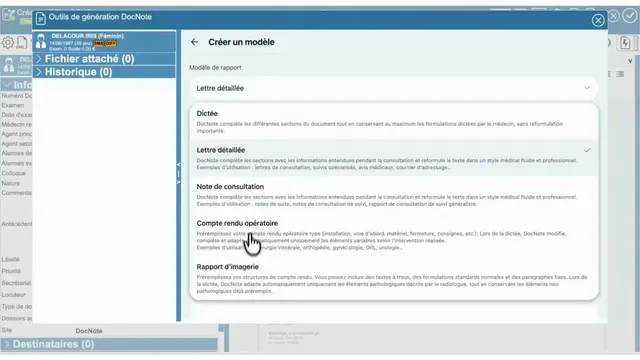
From the home screen, you create a new consultation. A dropdown menu lets you preselect the type of report that matches your specialty: neurology, oncology, emergency medicine and many others. Each template has its own structure, so the generated report already looks like what you would write yourself.
If you prefer, you can choose a simple dictation instead of a structured template. In that mode there is no need to dictate punctuation: you speak naturally and DocNote formats the text.
Step 2: add clinical context
Under the recording controls you can add clinical context notes and any other relevant information, for example the recipients of the report or the patient identification number. You can also attach documents such as a previous operative report, and add photos.
Everything you attach here is given to the AI alongside the audio, so the more context you provide, the more accurate and complete the report will be.
Step 3: record the conversation
Then you record. This can be the conversation with the patient during the consultation, but also any other clinical exchange: a discussion with a colleague, a handover from paramedics, a dictation after the visit. DocNote separates what matters clinically from the small talk and structures it.
Step 4: generate and share
Once all the information is in, you press “Generate report”. The document is structured automatically according to the template you selected.
From there you have several options:
- Copy the whole report with one button and paste it into your patient file.
- Share it directly into your practice software when an integration is available (see our Sokle and Axenita tutorials).
- Send it by email, for example to your secretary.
The report stays editable at any time through the edit button in the top right corner, so you can add, correct or complete anything before sending it.
Settings worth configuring early
Recent consultations are kept in the sidebar so you can come back to them. In the settings you can add email addresses (your secretary’s, for instance), manage your subscription and change both the language of the app and the language of the generated reports.
If you have not tried DocNote yet, the web app and the mobile apps are free to start, and this video is a good two-minute preview of what to expect.
Related articles
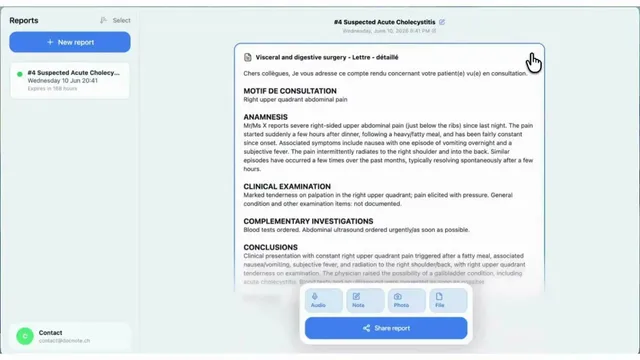
DocNote tutorial (English): record, add context, generate, share
The English walkthrough of DocNote: choose a report type or plain dictation, record the consultation, attach context and documents, generate the report and export it.
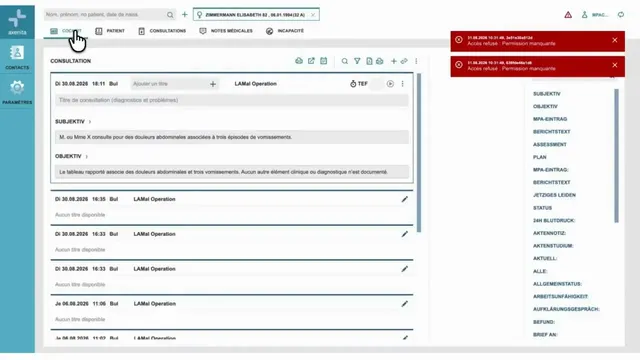
DocNote x Axenita: set up the connection and send reports to the patient file (video)
Configure the Axenita web portal and FHIR API client, open DocNote from the patient file, generate a report and send it back into Axenita. Video in French.
Using DocNote from EDL Xplore for radiology reports (video)
Open DocNote from the EDL Xplore RIS, dictate only what differs from your normal template, and get the full structured radiology report back in EDL. Video in French.